For more than twenty years I wanted to know how to make log furniture…I’m talking cut the tree down, pack it out of the woods, custom, from scratch kinda log furniture. Not the neatly perfected pieces you find in most furniture stores. I’m talking backwoods…Alaska style.
So last summer I did it. Now, mind you, I have a long history of setting a goal, completing said goal, loving the goal…and then never doing it again. But at least I got some decent furniture out of the deal. Not to mention some crazy expensive tools.
The project started with a log table. Seemed easy enough. So I worked late in to the night and came up with this…

Only problem is, I hate the “manufactured” top. The next one is going to be made from raw slats and have some kind of art…probably woodburning…in the top. Next time…
The second project was this end table…equally as plain looking as the coffee table, but not bad for a beginner. Both are still in my living room until I get time to create some new pieces…then these will be up for grabs to the nearest friend/relative who wants kiss up and claim they like them. ![]()

(ignore the green carpet, came with the house,was my nemesis and is gone!)
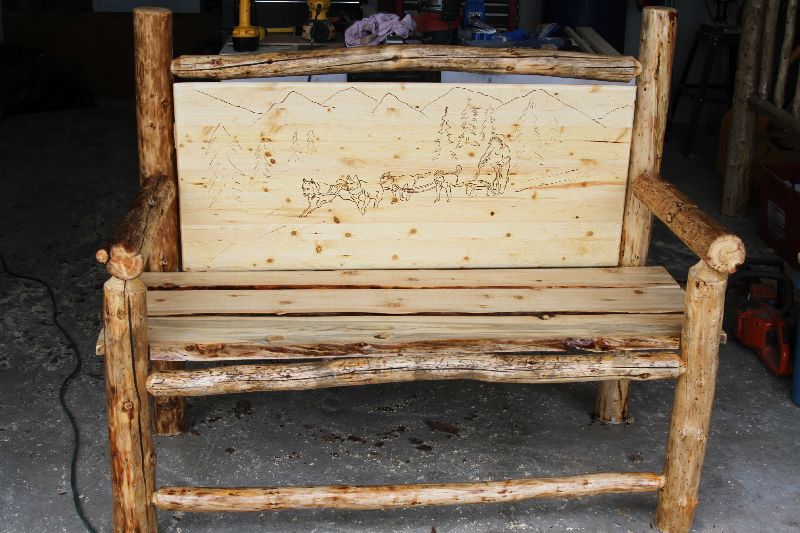
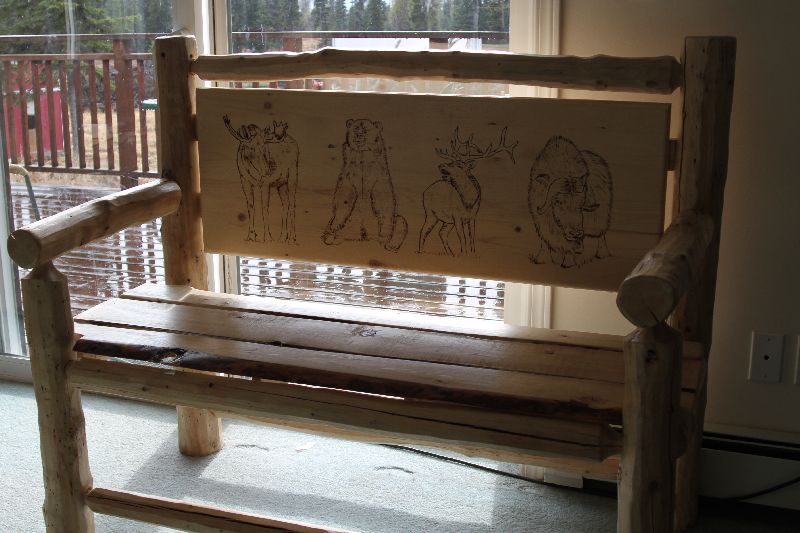
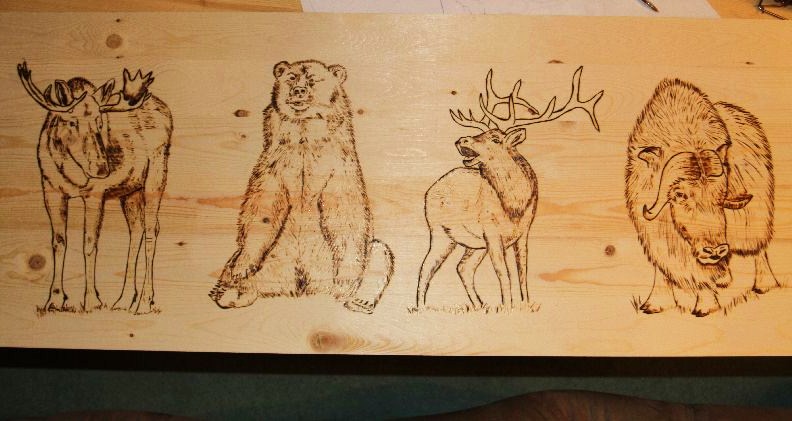
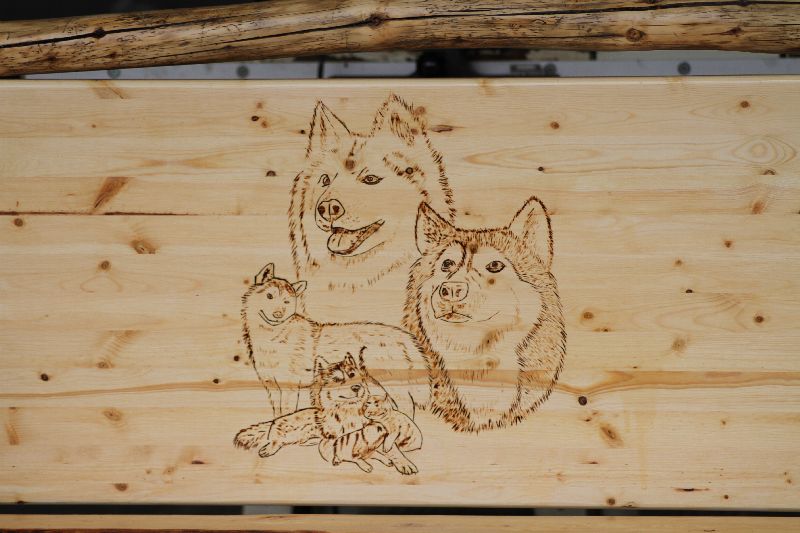
Bored with the tables, I begin to visualize a bench. It had to be something unique, something fun, something Alaskan. Below is some things I came up with. Mind you, same stinkin’ manufactured board for the back, but at least I spiced them up with some woodburning. The next pieces will be completely from scratch…stuff I drag out of the woods, like the logs are. But for now…(there goes that “some day” again.)
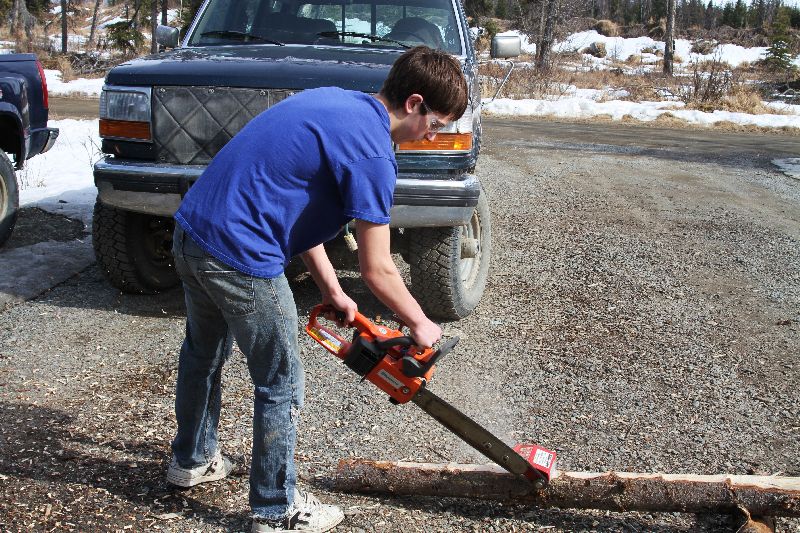

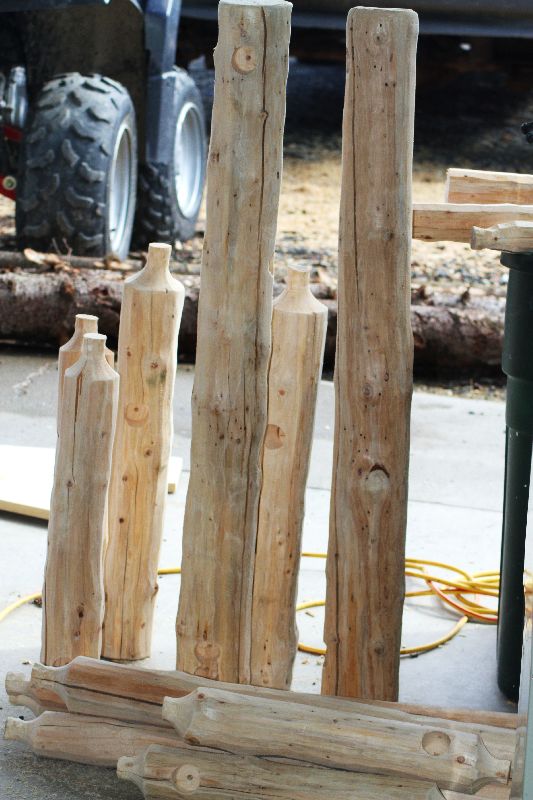
The projects start with a pile of logs. Sometimes, if my kids are desperate, I can pay them to peel them. Or if my son, Billy, feels like being industrious, I can get him to peel them with my chain saw attachment. Otherwise, (usually) I am on my own. Backbreaking work, by the way.
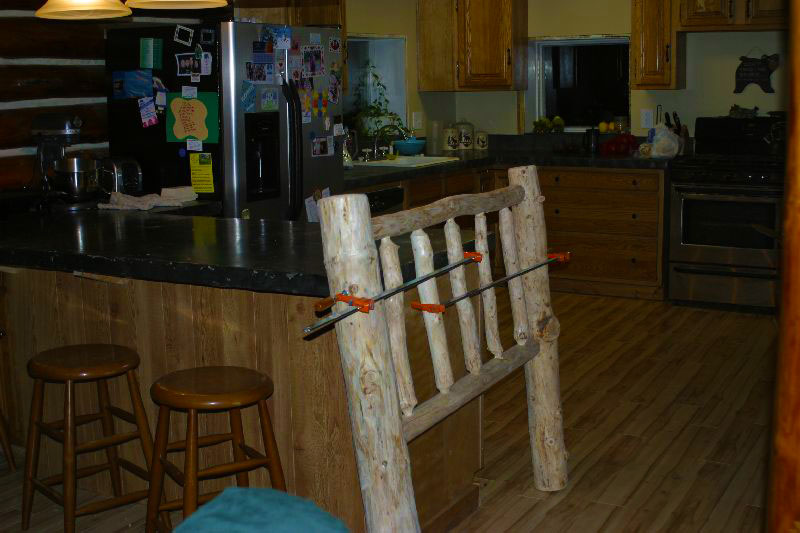
Then I begin to measure and cut them into lengths, sometimes re-cutting over and over until I have to start all over. I then form the ends with a nifty router attachment that “tenions” the ends. I use a wood boring bit and drill press to create the matching holes, and voila, it all goes together like this.


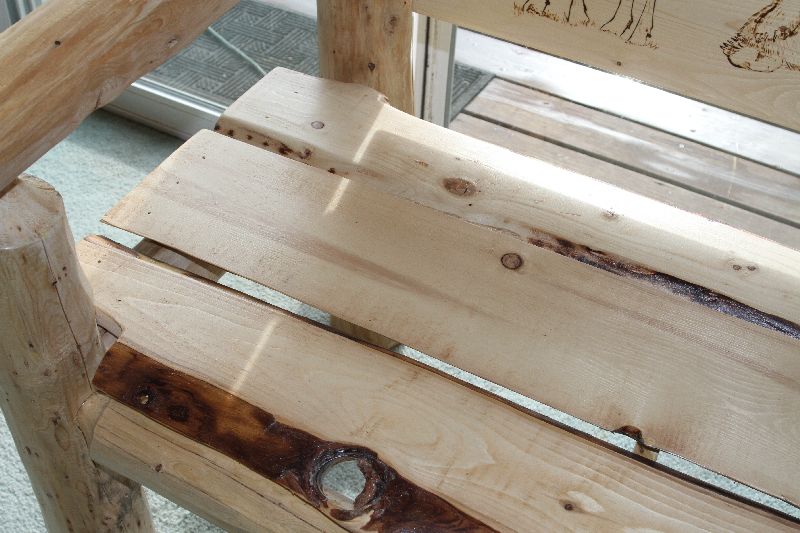
Then, I sand, sand, sand, sand, sand, sand. You get the picture, right? See in the picture below the difference between the rough cut slat, and the two I’ve sanded. They come out so beautiful…but did I mention I have to sand?

Below are some of the things I’ve ‘finished’. I use that term lightly since I’m very critical of my own work and don’t consider something ‘finished’ until I approve of it fully. These are still works in progress…and progress…and progress. There are no nails in these pieces, they are held together by wood glue only…except screws holding the back on…which I’m trying to solve.

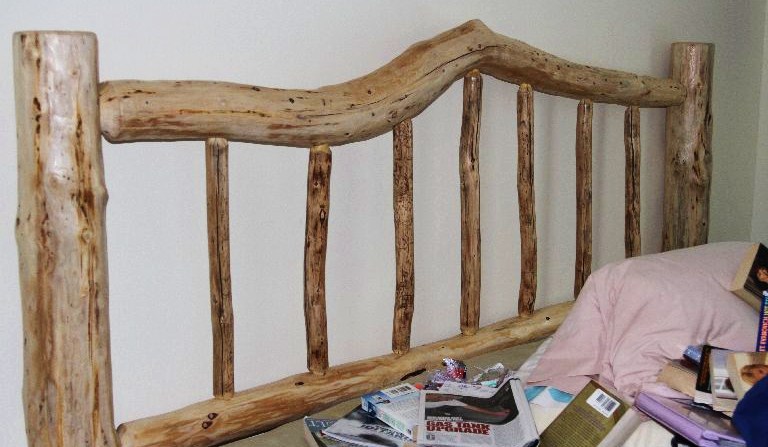
(ignore the giant mess on the bed…I’m not gonna lie to ya, it’s always there…but let’s pretend it’s not.)


These are my completed pieces so far. This winter, when it’s far too cold and dark to do anything else, I’ll likely create some more pieces to sit around the house collecting dust. Because honestly? Though I may complain loudly about the hard work the entire time, I LOVE the feel of a finished piece.